

 See My Latest Article on HelloNation
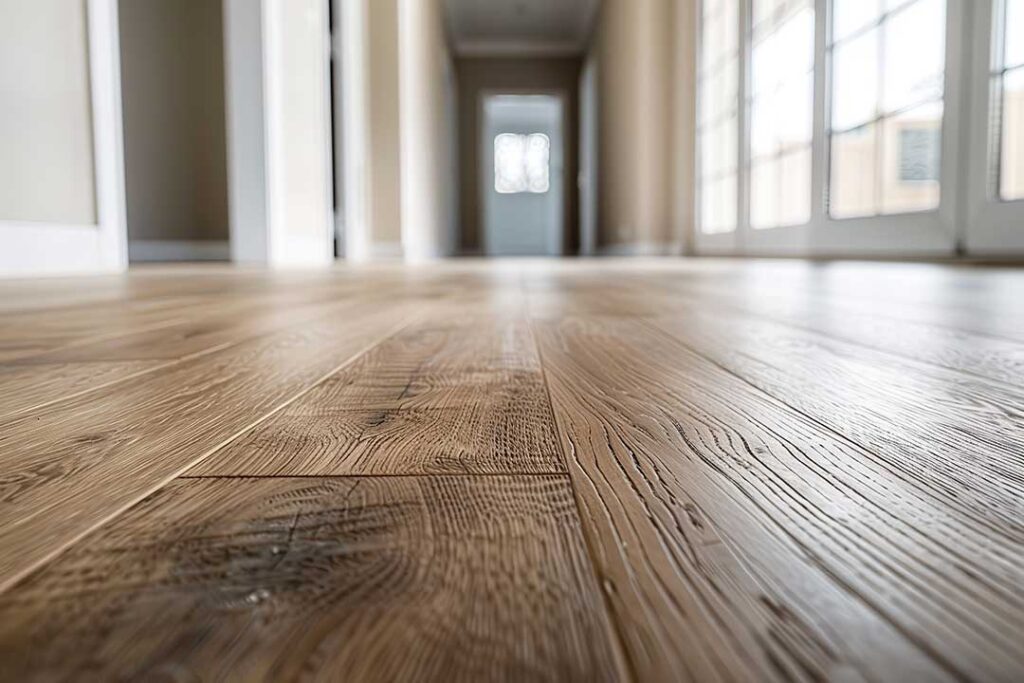
Laminate flooring can be a practical do-it-yourself project when the subfloor is sound, the room is prepared carefully, and the flooring is allowed to adjust to indoor conditions before installation. In Penn Yan, NY, seasonal humidity changes and older housing conditions make preparation especially important.
Is laminate flooring suitable for a DIY installation?
Yes, many laminate floors are designed as floating systems that lock together without nails or adhesive. The planks rest over an underlayment and expand or contract slightly with normal temperature and humidity changes.
A DIY installation is generally manageable in bedrooms, hallways, living rooms, and other dry areas. The project becomes more difficult when the room has:
- Uneven or damaged subfloors
- Moisture problems
- Numerous doorways or angled walls
- Built-in cabinets that cannot be removed
- Stairs or areas requiring detailed trim work
Laminate flooring is not waterproof simply because some products resist surface spills. Bathrooms, laundry areas, entry zones, and below-grade spaces require careful product selection and moisture control.
What should be checked before buying materials?
Measure the room’s length and width, then multiply those numbers to estimate square footage. Add approximately 10 percent for cutting waste, fitting around corners, and replacing damaged planks later.
Before purchasing, confirm:
- The flooring’s thickness and locking system
- Whether separate underlayment is required
- The manufacturer’s moisture and room-use limitations
- The recommended expansion gap
- The transition pieces needed between rooms
- Whether trim can cover the planned gap at the walls
Buy enough material from the same production batch when possible. Slight color differences can occur between batches, and returning for additional material later may result in a different appearance.
Do not assume every underlayment works with every floor. Some laminate products include attached padding, while others require a separate layer. Installing extra padding beneath flooring that already has attached underlayment can make the joints flex and fail.
How should the room and flooring be prepared?
Leave unopened boxes of laminate flooring in the room where they will be installed, following the product instructions for the required acclimation period. Keep the boxes flat on a dry, level surface rather than leaning them against a wall.
The room should have stable indoor conditions, with heating or cooling operating normally. This matters during cold-weather installation because flooring brought directly from an unheated garage, porch, or vehicle may be colder and less dimensionally stable than the room.
Remove shoe molding and base trim carefully if it will be reused. Undercutting door casings with a handsaw or oscillating tool often creates a cleaner result than cutting planks around the casing.
Plan the direction of the planks before starting. Running flooring along the longest dimension of a room can reduce the number of end joints, but light sources, adjoining rooms, and the location of the main entry may also influence the layout.
How important is subfloor preparation?
Subfloor preparation is one of the most important parts of the installation. Laminate can hide minor surface imperfections, but it will not correct major dips, humps, movement, or moisture damage.
The subfloor should be:
- Clean and free of dust, staples, and loose debris
- Dry and structurally sound
- Firm enough that it does not flex noticeably
- Reasonably flat within the tolerance stated by the flooring instructions
Use a long straightedge to check for low and high spots. Small irregularities may be corrected with an approved patching compound, while larger problems may require more extensive work.
Wood subfloors in older homes may have loose boards or squeaks. Screws can sometimes secure loose areas, but avoid driving fasteners where plumbing, wiring, or other concealed components may be present. Concrete subfloors may need moisture testing, especially in basements or rooms with a history of dampness.
Never install laminate over a wet, musty, or actively leaking surface. Flooring installed over unresolved moisture can swell, separate, develop odors, or trap damage beneath the finished surface.
What is the correct installation process?
Begin by cleaning the subfloor and installing the approved underlayment. Follow the product instructions regarding seams, overlaps, and whether the underlayment should run beneath or stop at certain walls.
Most floating floors require an expansion gap around the room’s perimeter. Spacers help maintain a consistent gap while planks are being fitted. The exact measurement varies by product, so the package instructions should control rather than a general rule.
Start along the straightest wall. Avoid creating a very narrow final row; if the last row would be unusually thin, measure the room and trim the first row so both sides have more balanced widths.
As planks are connected:
- Stagger end joints from row to row.
- Avoid creating a repeating stair-step pattern.
- Use the recommended tapping block or pull bar.
- Do not strike the locking edge directly with a hammer.
- Check each row for gaps before continuing.
- Keep the plank faces clean during installation.

Laminate cutting produces dust and fine particles. Eye protection, hearing protection, and suitable respiratory protection are sensible, particularly when cutting indoors. A stable work surface and sharp blade also improve accuracy and reduce chipped edges.
How should laminate flooring meet doorways and other rooms?
Doorways usually require more planning than open floor areas. If flooring continues through several rooms, establish a reference line before installation so the planks do not gradually drift out of alignment.
Door casings can often be undercut so the flooring slides beneath them. Leave the required expansion space even where the cut is hidden. Do not wedge planks tightly against framing, trim, or drywall.
Use a transition profile where the flooring meets carpet, tile, vinyl, a different laminate height, or a doorway where movement between surfaces is expected. A transition can also provide a controlled stopping point between rooms rather than forcing planks through a complicated opening.
Kitchen islands, fixed cabinets, and heavy built-ins need special attention. Floating flooring generally should not be trapped tightly beneath objects that prevent normal movement. Product instructions should be reviewed before installing around permanent fixtures.
What mistakes cause the most problems?
The most common installation failures are usually related to preparation rather than the locking mechanism.
Frequent mistakes include:
- Skipping acclimation
- Installing over an uneven or damp subfloor
- Forgetting expansion gaps
- Using the wrong underlayment
- Failing to stagger joints
- Forcing damaged planks together
- Installing too much flooring beneath fixed cabinets
- Leaving sawdust or grit under the planks
- Reinstalling trim so tightly that it restricts movement
Another misconception is that laminate can be mopped like ceramic tile. Excess water can reach the joints and edges, so routine cleaning should use a lightly damp method approved for the product. Wipe spills promptly, especially during muddy or snowy seasons when moisture and grit can be tracked indoors.
When should a DIY installer stop?
A project should pause if the subfloor moves, moisture continues to appear, flooring joints will not lock without force, or the layout requires complicated structural changes. Suspected mold, significant water damage, unsafe electrical conditions, or work involving stairs may require specialized knowledge for safe correction.
Careful preparation usually matters more than speed. Allowing time to inspect the room, plan the first and last rows, and verify the expansion gaps can prevent the most expensive and frustrating repairs after the floor is finished.